The Ultimate Guide to Setup VPN on Router
In today's interconnected world, ensuring your online privacy and security is paramount. One way to achieve this is by using a Virtual Private Network (VPN). Setting up a VPN on your router not only protects all your connected devices but also provides a seamless internet experience. In this comprehensive guide, we will explore the intricacies of how to setup VPN on router, the benefits of doing so, and detailed steps to follow.
Understanding the Basics of VPNs
A VPN creates a secure connection between your device and the internet. This connection is often established through a remote server, which encrypts your data, ensuring that your online activities remain private. A VPN can help:
- Enhance Online Security: Protects your data from hackers, especially on public Wi-Fi networks.
- Bypass Geo-Restrictions: Access content that may be blocked in your region, such as streaming services.
- Maintain Anonymity: Masks your IP address, allowing your online actions to remain concealed.
Why Setup VPN on Router?
Setting up a VPN on your router comes with several advantages:
- Network-Wide Protection: Every device connected to your router benefits from VPN encryption without needing to install software.
- Convenience: No need to connect each device individually; simply connect to your home network.
- Simultaneous Connections: Many VPN services limit the number of devices that can connect simultaneously; a router setup circumvents this limitation.
- Better Performance: Often, devices with VPN apps can face performance issues; a router handles this more efficiently.
Choosing the Right VPN Provider
Not all VPN services are created equal. When selecting a VPN provider, consider the following:
- Security Protocols: Look for strong encryption standards (e.g., OpenVPN, IKEv2).
- No-Logs Policy: Ensure that the provider does not store your browsing history or personal data.
- Server Locations: A wide range of server locations can help in bypassing geo-restrictions.
- Customer Support: Responsive support can be vital in troubleshooting any issues.
- Compatibility: Ensure your router is compatible with the VPN service.
Preparing to Setup VPN on Router
Before diving into the setup VPN on router process, it is essential to gather the necessary information:
- Router Model: Check if your router supports VPN functionality. Many modern routers do, but some may require custom firmware like DD-WRT or Tomato.
- VPN Credentials: Obtain your VPN provider's server address, username, and password.
Step-by-Step Guide to Setup VPN on Router
Step 1: Access Your Router's Admin Panel
To begin, you need to access your router's admin interface:
- Open a web browser and enter your router's IP address (commonly 192.168.1.1 or 192.168.0.1) in the address bar.
- Log in with your admin credentials. If you haven’t changed them, they might still be the default (check your router's manual).
Step 2: Locate the VPN Configuration Section
Once logged in:
- Navigate to the "VPN" section; this may vary by router (it could be under 'Advanced Settings' or 'Security').
- Look for options related to "OpenVPN," "PPTP," or "L2TP" – choose the one that your VPN provider supports.
Step 3: Enter VPN Credentials
Fill in the necessary information provided by your VPN service:
- Input the server address, username, and password as per your VPN provider’s setup guide.
- If prompted, upload any necessary certificate files (this is often required for OpenVPN).
Step 4: Configure Additional Settings
Some routers may allow you to tweak specific settings like:
- Encryption Level: Choose a strong encryption standard.
- Connection Protocol: Select the appropriate protocol as per your provider's recommendation.
Make sure to save your changes.
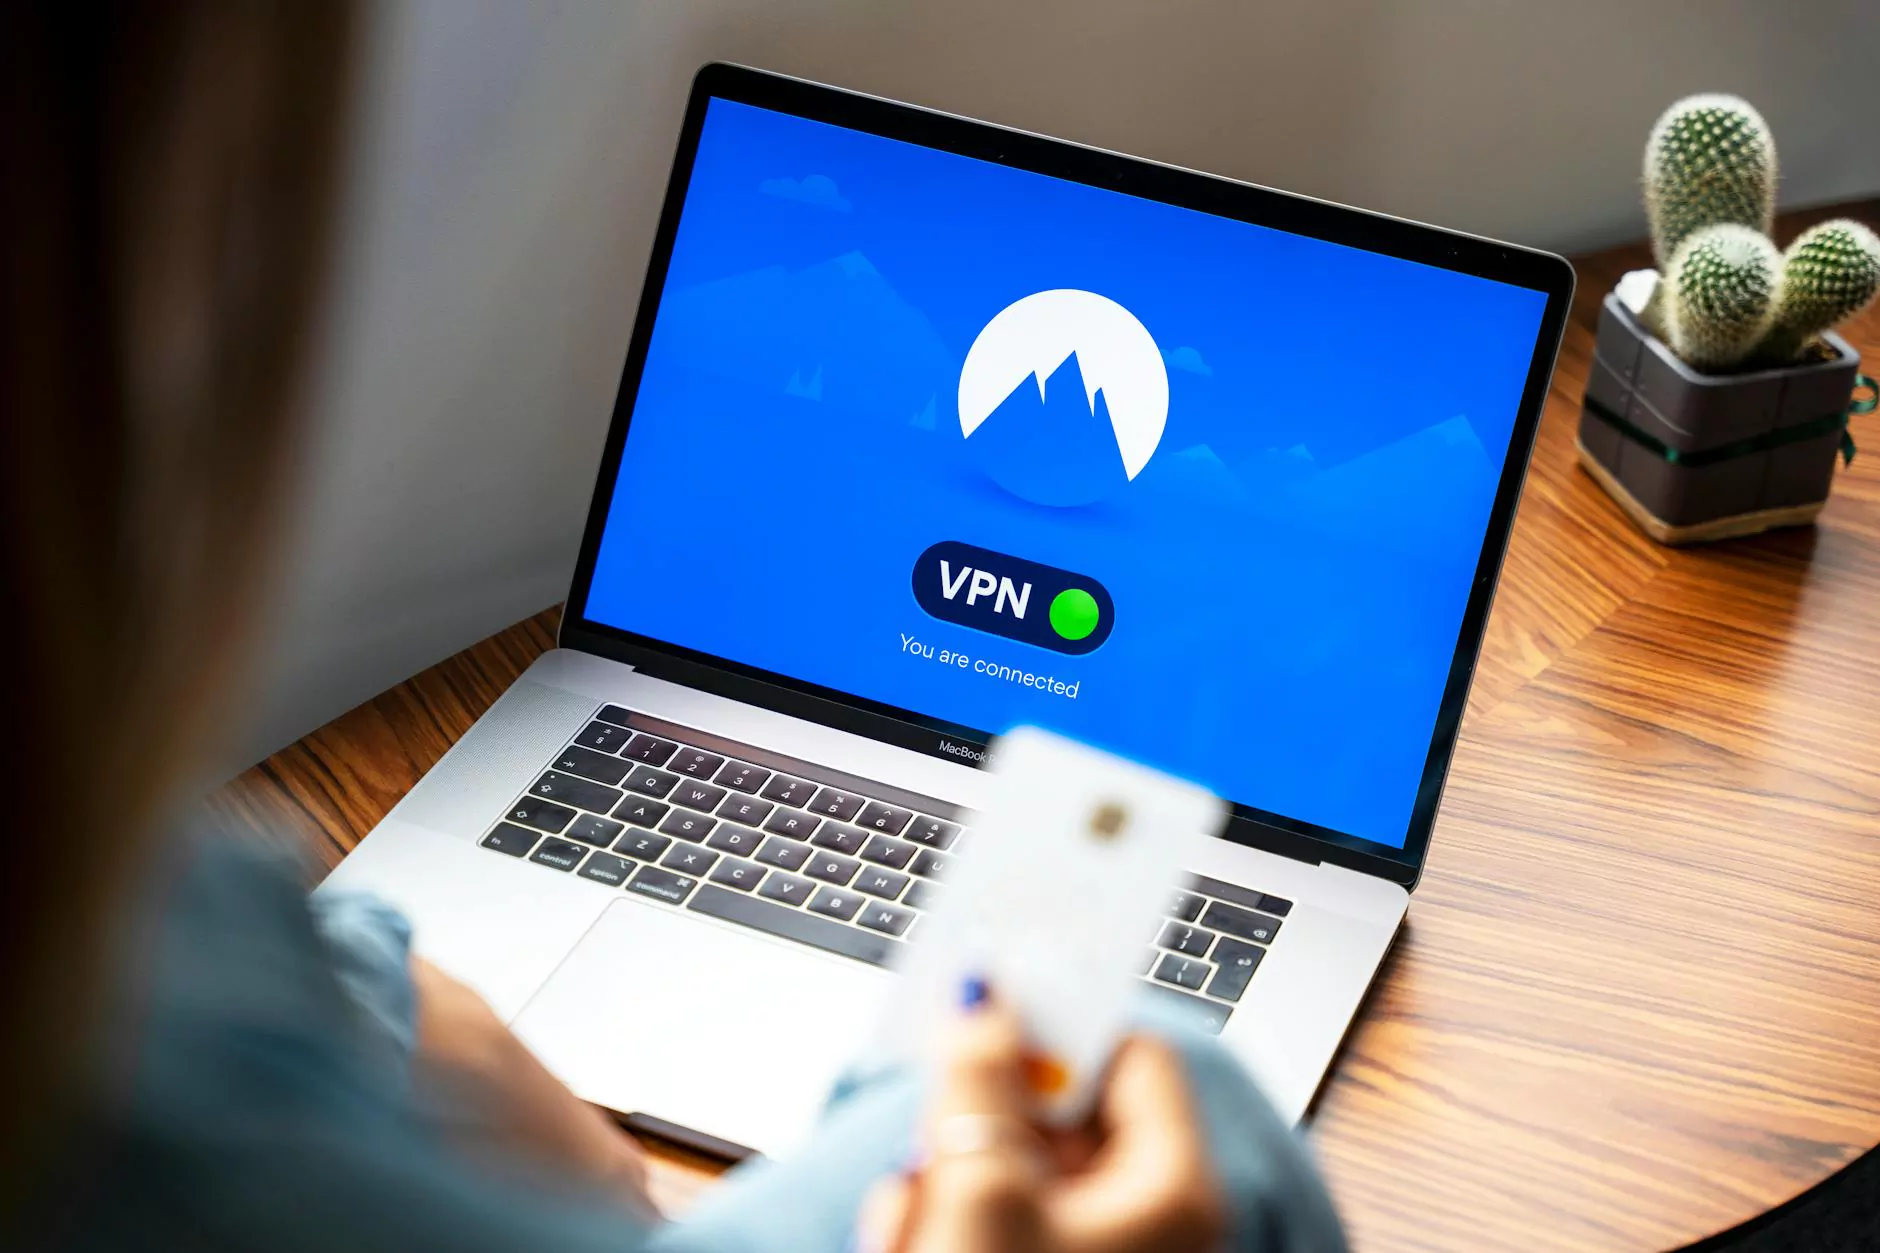
Step 5: Connect to the VPN
After saving, look for an option to connect or activate the VPN. If everything is set up properly:
- The router should initiate a connection to the VPN server.
- A status indicator may show whether you are connected or if there was an error.
Testing Your VPN Connection
Once you’ve connected, it is crucial to confirm that your VPN is working correctly:
- Visit a website like WhatIsMyIP.com to check your IP address.
- If the IP address shown does not match your original IP, you are successfully connected through the VPN.
Troubleshooting Common Issues
If you encounter issues, consider the following troubleshooting steps:
- Check Credentials: Ensure your VPN username and password are correct.
- Update Firmware: Make sure your router’s firmware is up to date.
- Reboot Your Devices: Sometimes a simple reboot can resolve connectivity issues.
- Consult VPN Support: Reach out to your VPN service’s support team if problems persist.
Maximizing Your VPN Experience
After setting up your VPN, there are several practices to ensure an optimal experience:
- Regular Updates: Keep your router’s firmware and VPN software updated.
- Server Switching: If you experience slow speeds, try switching to another VPN server location.
- Monitor Performance: Use speed testing tools to evaluate connection speeds.
Conclusion
Setting up a VPN on your router is a powerful method to enhance security and accessibility for all devices on your network. With the right VPN service and the steps outlined in this guide, you can protect your online activities, unlock content, and enjoy a safer internet experience. Embrace the power of a VPN and take control of your online privacy today!
For more insights and a reliable VPN service, consider visiting ZoogVPN, where you can find tailored solutions to meet your internet connectivity needs.